The “new” Orange Crush Mini 3W combo amp has an external speaker jack on the back. The amp sounds great through an external speaker, especially when it comes to edge-of-breakup tones. Plus, it can do higher gain tones at low volume. But, what if you have the original Orange Micro Crush that only has a headphone jack on the back?

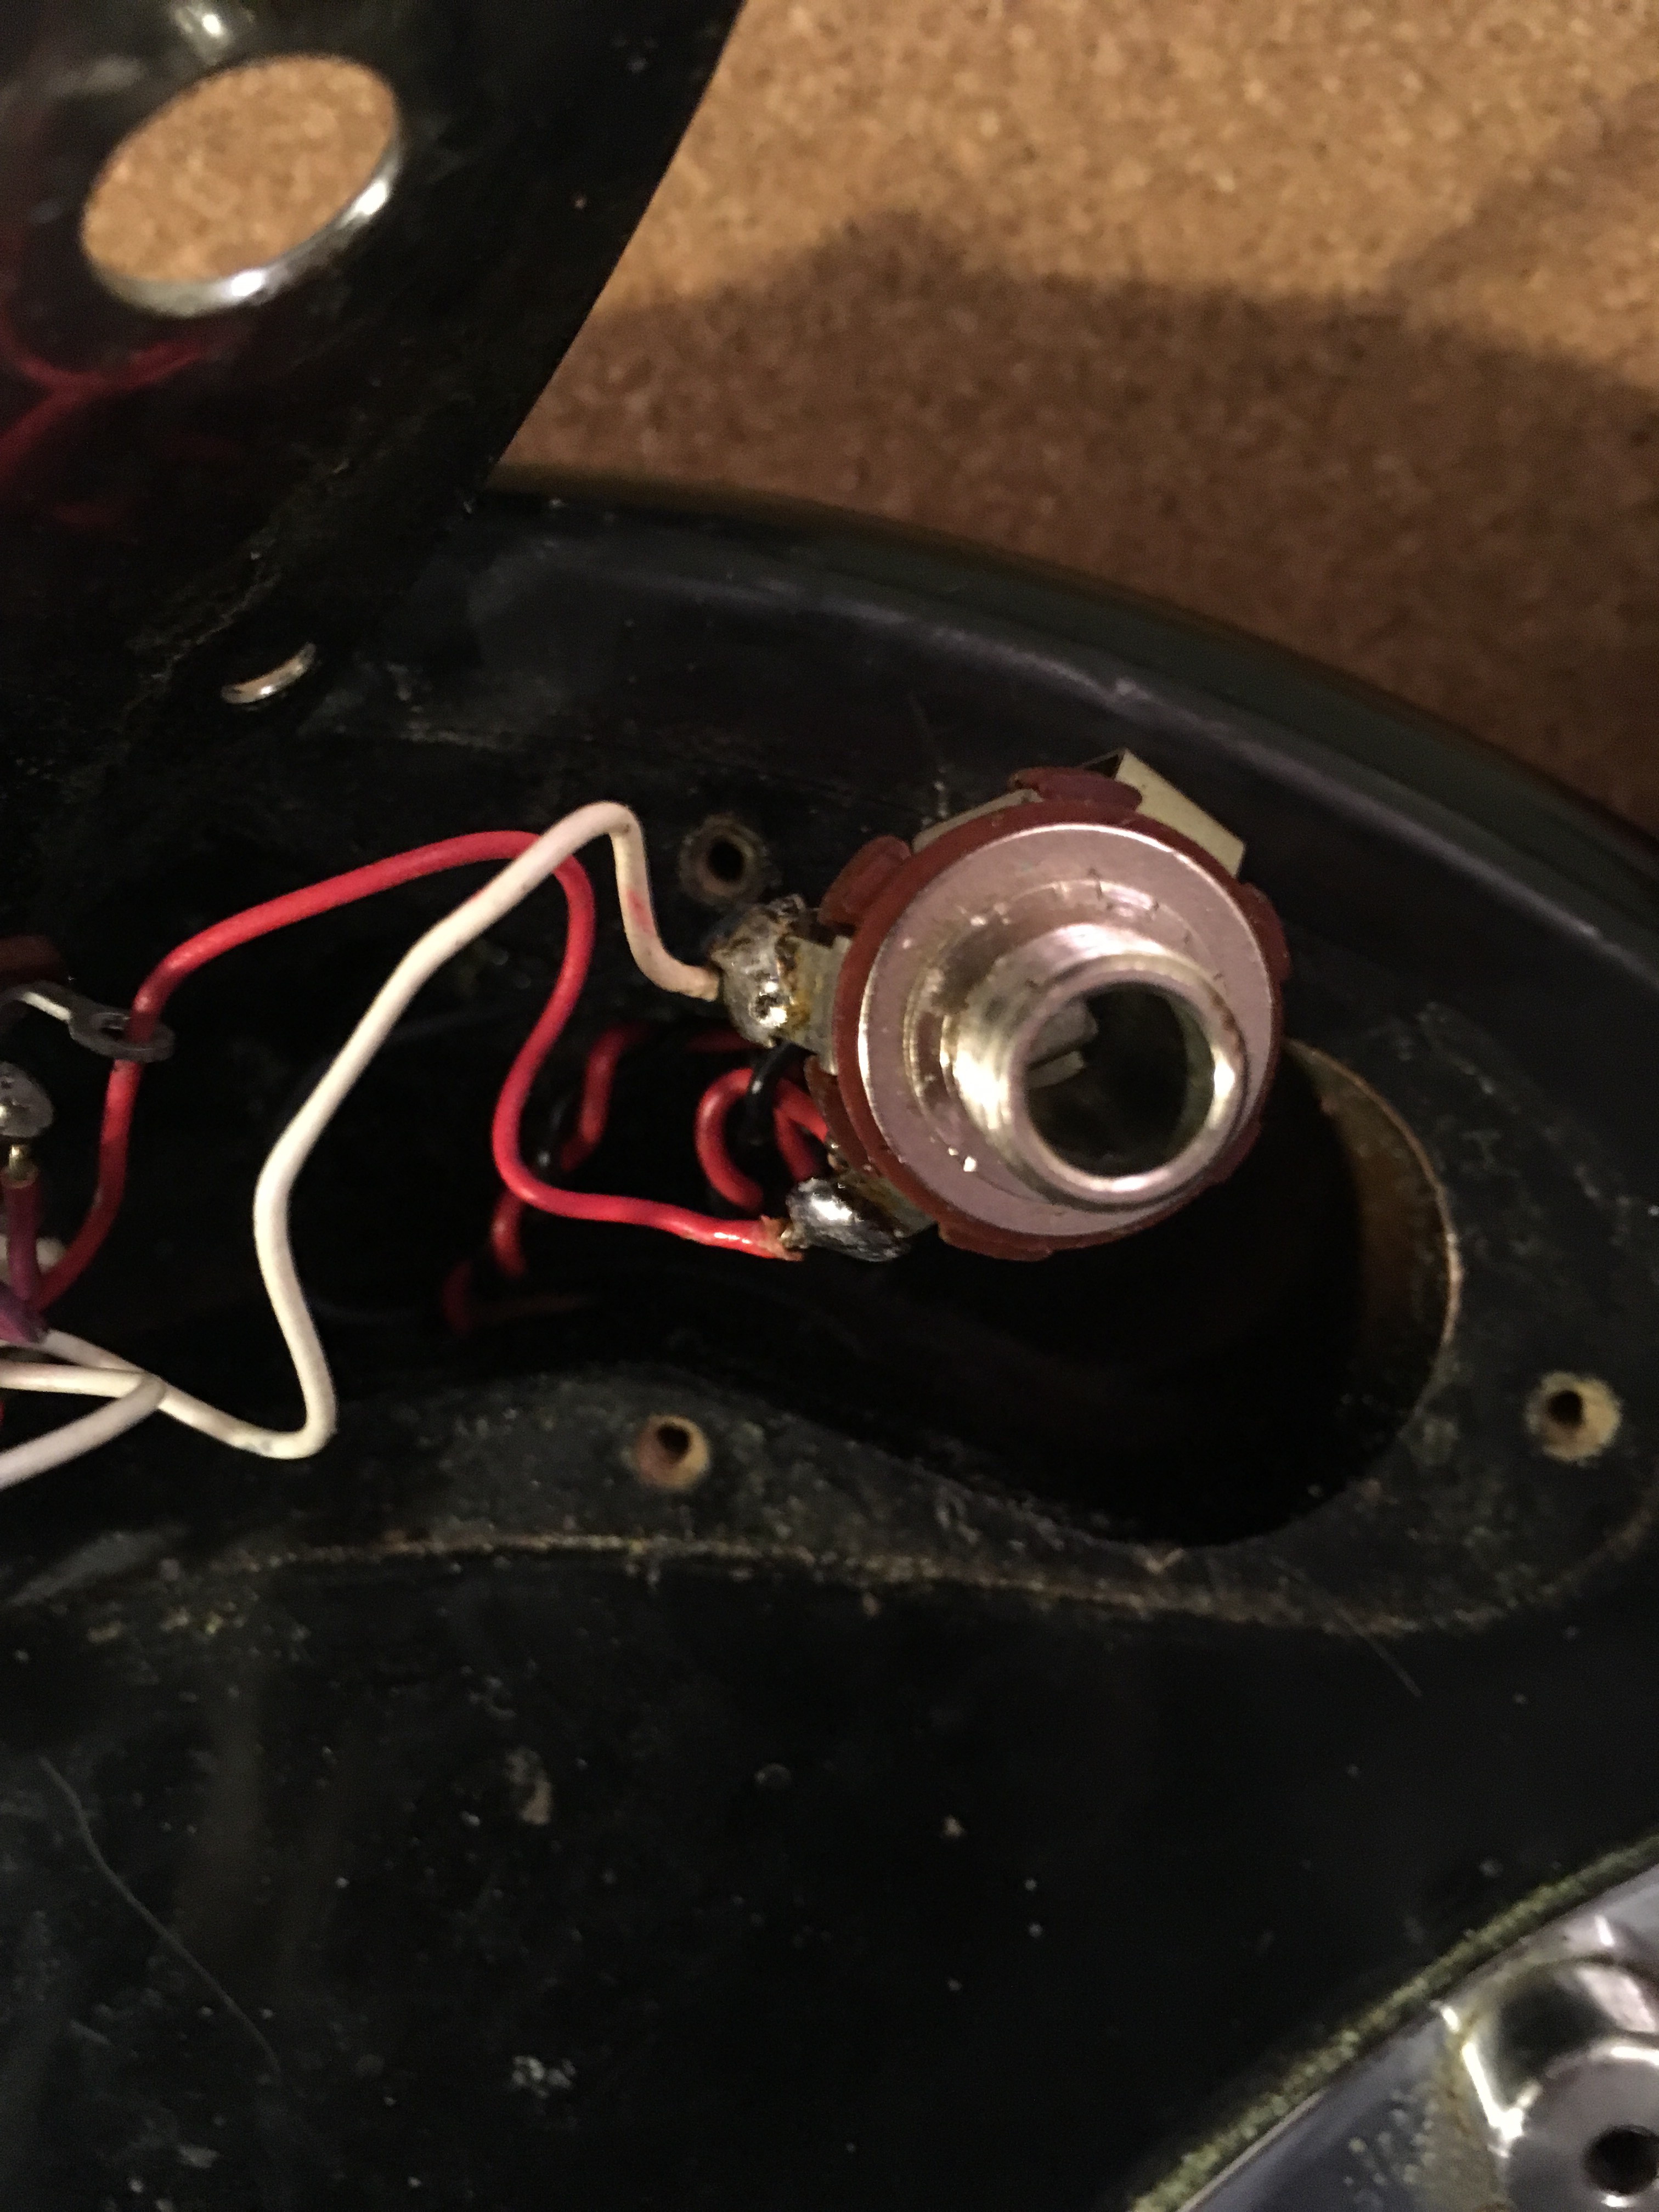
Well, it turns out that the internal speaker of the Micro Crush is wired through the headphone mini jack, which means that you can connect the amp to an external speaker using an 3.5mm male to 1/4” female jack adapter. I have tried this using a Vox 8” open back speaker cabinet and a Marshall 12” closed back cabinet, and it sounded best with the larger closed back cabinet. There seems to be some low frequency roll off in the amp, maybe to voice it for the small internal speaker, so running the amp through an external speaker works best for lead tones.

New gear is awesome, but sometimes new and exciting sounds can be found by experimenting with old gear, or cheap gear, or toys, or junk, or that thing that you left in a drawer for years.

Orange Micro Crush connected to external speaker via headphone jack.

Here’s what it sounds like – the volume is set to max, the overdrive button is in, the tone is set at noon, and I’m playing an Agile LP clone via both pickups with volume and tone knobs at 7. Recorded into an iPhone balanced precariously on top of the Marshall speaker cab.

Sound sample of Orange Micro Crush through an external Marshall 12” speaker cabinet (with a Celestion 7080).

Social media trends keep trending. Every generation seems to segregate themselves into their own virtual school yard. The last time we were active on this platform, shows were being organized via Facebook. The 2020 election cycle drove out the bands and the fans and the space was filled by our screaming elders. In the lead up to the 2024 election, it seems that shows are organized and followers are gained and lost on Instagram. We have played a few shows over the past few months, and none of them were mentioned here. In fact, our Instagram page doesn’t even have a link to this website. Who has a website anymore? Nobody has time for that, we spend all of our time chasing the next dopamine hit. In these post-postmodern times, reading and writing is punk.

If you’re reading this, please be a pal and follow us over on Instagram. It’s stupid, but that’s life. Cheers, Linguo Paul

https://www.instagram.com/linguoband/

I use an Audient iD14 MKI interface when recording and mixing at home. It has nearly all of the features that I need, and it sounds great. The preamps and DI actually have some character. But I was tempted to upgrade to the iD14 MKII for the one feature that is missing from the MKI – loopback audio. If you aren’t familiar with “loopback audio”, that term describes internal routing of audio from a computer application to the inputs of your interface, and is also sometimes called a “virtual cable”. It’s a useful feature for live streams and making podcasts, but I’m using it to record audio samples.

It turns out that Reaper (at least for versions 6 and up) can do this natively without the need for any particular audio interface. All you need to do is change the audio device to WASAPI and select the “Shared Loopback” mode. When selecting this option, make sure that the audio you are recording into Reaper is not being played back via your main audio outputs, or the resulting feedback may blow out your speakers and or ear holes!

There are video tutorials for how to do this, but I like reading and maybe you do too. So, here’s the procedure, step-by-step:

1. Open a Project and click on the audio device information in the top-right corner of the screen.
2. In the Audio Device Settings menu, select “WASAPI”
3. For the WASAPI device mode, select “Shared loopback (CAUTION)”. The “CAUTION” refers to the risk of explosively loud feedback because this mode makes a connection between audio outputs and inputs.
4. Add a new track or select an existing track, Record enable the track, and select mono or stereo inputs. Note: just select regular analogue inputs, you don’t have to select “Loopback” inputs. BEFORE pressing Record, click on the “Route” button for the track in the Mixer View and de-select the “Master send” check box. You should still be able to hear the source audio when it is playing. This step prevents the audio from playing in a loop – you want audio to go from SOURCE to REAPER, not from Reaper to Reaper.

You are now set up to record loopback audio in Reaper. Press Record in Reaper and it will start to capture all of your system audio. You can record audio from YouTube, video games, Discord, or whatever source is playing back audio on your system. As a best practice, I always go through all of the steps in reverse order prior to saving and closing the project. Hopefully this is helpful for someone. Cheers, Linguo Paul.

If you are looking for a small venue to play in Davis, California, check out Woodstock’s Pizza. The staff are amazing, the crowd is friendly and enthusiastic, and bands get free drinks and food plus payment for playing. We have played there twice and are looking forward to playing again!

Flyer from our last show at Woodstock’s

Chris, our bass player, has an amazing MusicMan bass from the early 1990s. Over the past year, the input jack has been sounding like a bowl of rice krispies, with lots of crackles and pops. So, I decided to replace it. This turned out to be a bit of a saga, so I thought that it might be helpful to others to share some lessons learned.

The bass has active electronics, which are uniquely switched on, using a special type of 1/4″ jack. Specifically, it is the Switchcraft model 13 jack, which is a mono jack with an isolated make circuit. When you insert a plug into this jack, the plug closes a mechanical switch, which connects the positive side of the battery to the active electronics circuit. This is different to how nearly every other guitar/bass active circuit is turned on. Most other schemes use a stereo jack, with the plug connecting the ground side of the circuit and battery together.

The ErnieBall method allows for a sort of “soft” startup of the circuit, which minimizes circuit noise when you first plugin the bass. That shouldn’t matter in practice, but that is the theory.

Here are a couple of photos of the jack, to show the wiring scheme and what the jack looks like. There is one lug for signal, two (both sides of the switch) for +9V, and one shared ground lug.

A variety of tools exist for removing unwanted noise from an audio file. I was a big fan of BIAS SoundSoap back in the day, but now the most popular software app for denoising audio is iZotope RX.

However, for those of us who use REAPER, there is actually a very powerful plugin packaged with the main DAW, which does a really good job of removing random background noise sources, like hum and hiss.

The plugin is called ReaFir, and to use it, you select the “Subtract” mode, tick the box to “Automatically build noise profile”, and then start playback during a section of the track where you have only recorded the noise that you want to remove. After the profile is built, simply untick the “build noise profile” box, and subtractive processing will be applied to denoise the track.

If you are trying to do this for a large number of tracks, then it might make sense to “freeze” or render the tracks, as the ReaFir plugin can use up available RAM pretty quickly, and/or may apply unwanted latency.

Screen Shot 2018-02-26 at 10.15.41 AM

We mixed our EP at El Studio with Phil Manley, over two separate half-day sessions in December. Phil (from Trans Am and Life Coach) did an amazing job, was very easy to work with, and provided a lot of information and guidance as we worked through the songs.

It was really interesting to mix via an entirely analog workflow. The sessions were loaded into ProTools, but then everything went out to the MCI mixing console and through various outboard processors, before being bounced down to 1/4″ 2-track tape, and then finally recorded back into the ProTools session.

Highlights included using outboard analog gates on the drums, checking out the amazing and unique plate reverb, and listening to the mixes in the live room through some massive speakers designed and built by Bill Putnam.

In particular, Phil did an excellent job making the mix sound bigger and more cohesive. It’s hard to say exactly what the analog workflow contributed to the mix, but it did make things surpisingly efficient. Rather than spend hours selecting plugins, each component of the mix had its dedicated outboard processing, then everything went to the tape, and that was it. The only downside to this style of mixing was the lack of recall, which wasn’t a big deal for us, since our songs are pretty simple.