I use an Audient iD14 MKI interface when recording and mixing at home. It has nearly all of the features that I need, and it sounds great. The preamps and DI actually have some character. But I was tempted to upgrade to the iD14 MKII for the one feature that is missing from the MKI – loopback audio. If you aren’t familiar with “loopback audio”, that term describes internal routing of audio from a computer application to the inputs of your interface, and is also sometimes called a “virtual cable”. It’s a useful feature for live streams and making podcasts, but I’m using it to record audio samples.
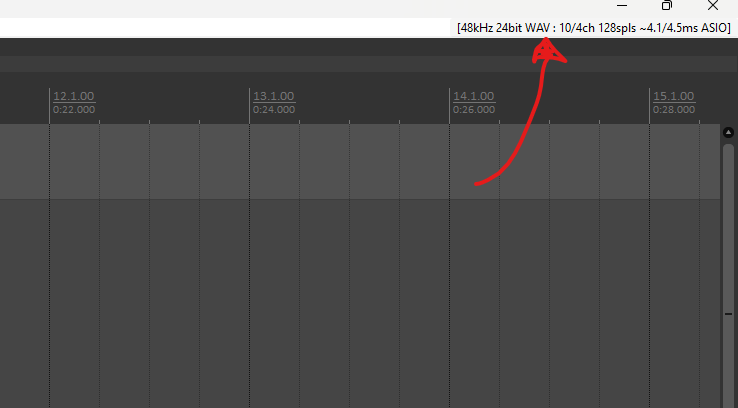
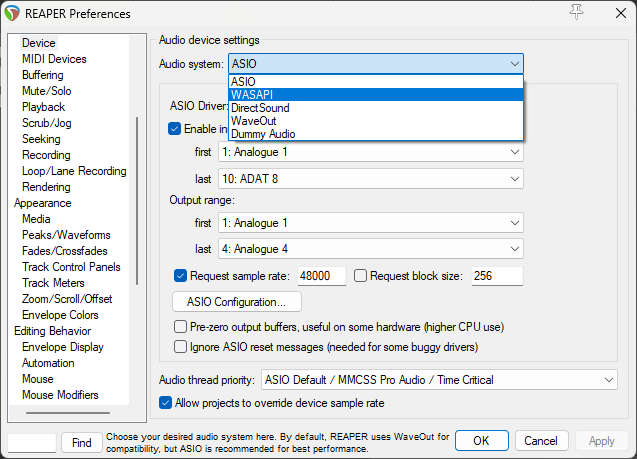
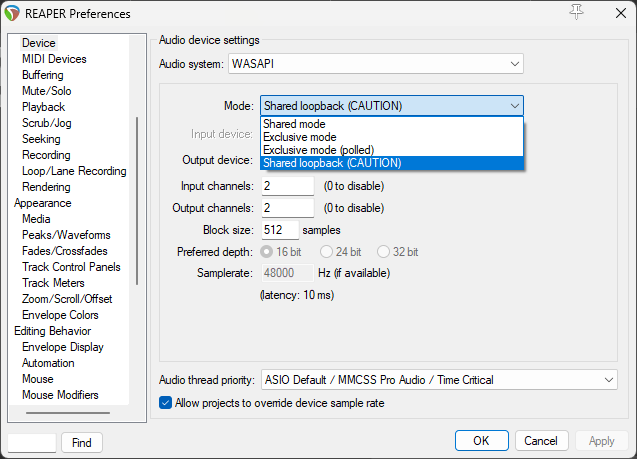
It turns out that Reaper (at least for versions 6 and up) can do this natively without the need for any particular audio interface. All you need to do is change the audio device to WASAPI and select the “Shared Loopback” mode. When selecting this option, make sure that the audio you are recording into Reaper is not being played back via your main audio outputs, or the resulting feedback may blow out your speakers and or ear holes!
There are video tutorials for how to do this, but I like reading and maybe you do too. So, here’s the procedure, step-by-step:
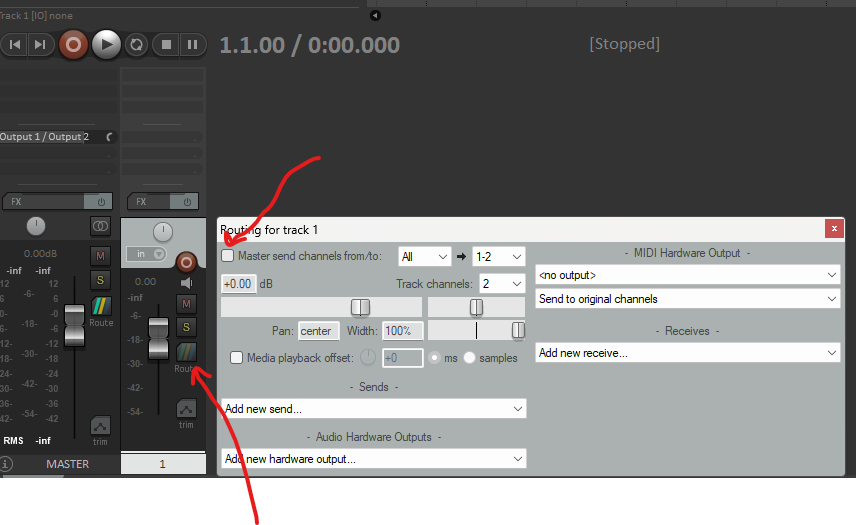
You are now set up to record loopback audio in Reaper. Press Record in Reaper and it will start to capture all of your system audio. You can record audio from YouTube, video games, Discord, or whatever source is playing back audio on your system. As a best practice, I always go through all of the steps in reverse order prior to saving and closing the project. Hopefully this is helpful for someone. Cheers, Linguo Paul.
